

I absolutely love to experiment in the kitchen, especially when it comes to health and wellness. Over the years, I’ve been making a variety of fermented foods like sourdough, fermented vegetables, and sour kale juice. Most recently, I’ve been exploring the wonderful world of fermented soda, made using a ginger bug — a natural starter culture that kickstarts the fermentation process.
Why is Fermented Food Good for Us?
These days, our diets often lack “living” foods. We eat so much that’s processed, pasteurized, and preserved — foods that no longer contain beneficial bacteria. In contrast, our ancestors, including in Iceland, consumed fermented foods regularly. Think of traditional Mysa, the leftover whey from cheese-making, which was often used to preserve food naturally.
Fermented foods are alive with beneficial bacteria (probiotics) that can help balance our gut microbiome — a key player in digestion, immunity, and even mental health.
What Happens in Fermentation?
Fermentation is essentially a beautiful little science experiment happening in your kitchen. You feed the good bacteria (naturally present in the ginger and air) with sugar. They “eat” the sugar and convert it into acids and carbon dioxide. The sugar is mostly consumed in the process, meaning the end product isn’t sugary like a soft drink — instead, it’s lightly sweet, fizzy, tangy, and full of probiotics!
Making the Ginger Bug
The first step in making fermented soda is creating the ginger bug — the natural fermenting agent.
Why Must the Ginger Be Organic?
Organic ginger is free of pesticides and fungicides that could inhibit the growth of beneficial bacteria and yeast. Since we’re relying on those natural microbes to start fermentation, organic is a must.
Ginger Bug Recipe:
- 1 tablespoon organic ginger (with skin)
- 1 teaspoon organic granulated cane sugar
- 1 ½ cups water (filtered or just Icelandic from the tap)
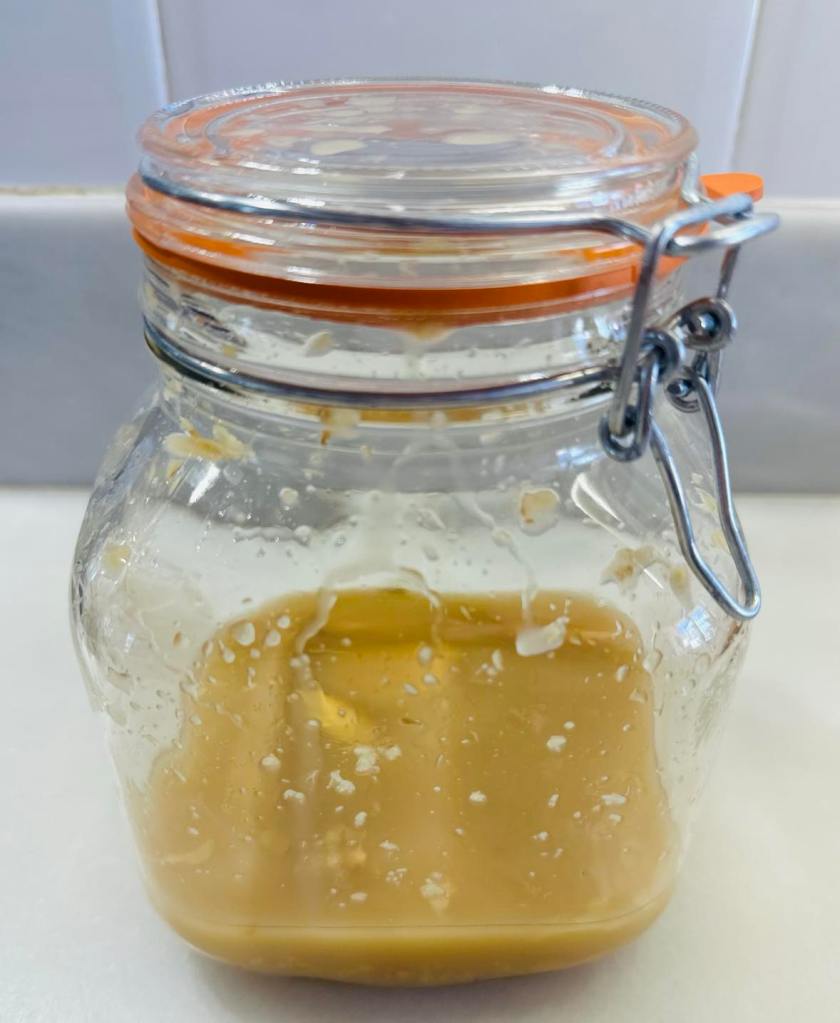
Instructions:
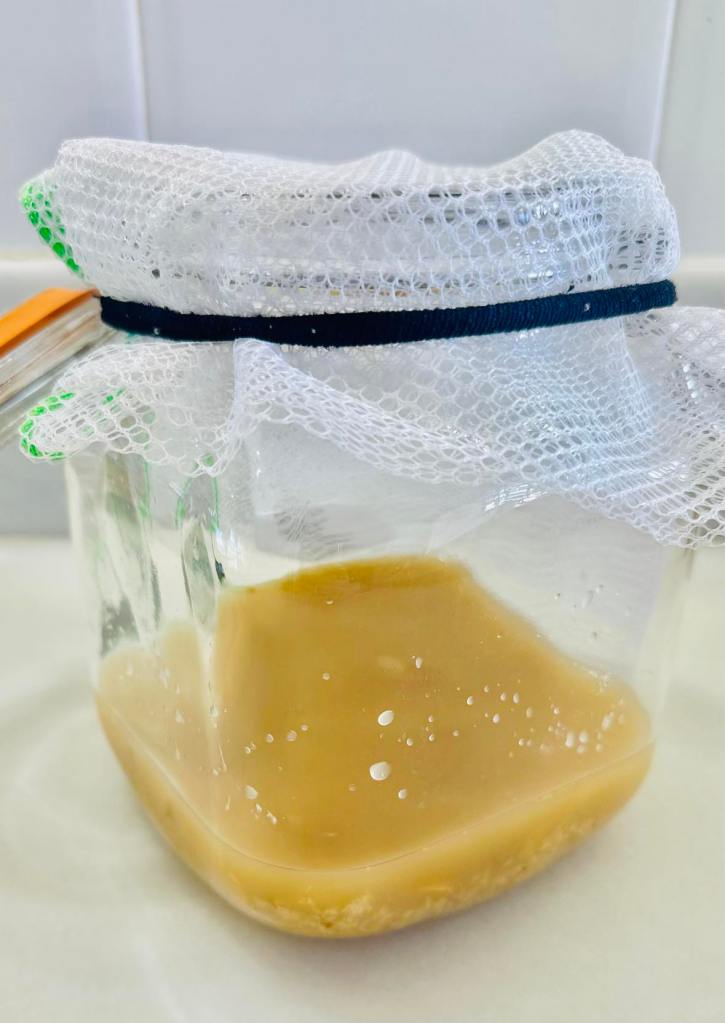
Add all the ingredients to a clean glass jar. Cover with a breathable cloth or gauze secured with a rubber band (do not use an airtight lid at this stage — the microbes need to breathe).
Daily Feeding:
- 1 tablespoon organic ginger
- 1 teaspoon organic cane sugar
- ⅓ cup filtered water
Feed the bug every day, giving it a good stir or shake. You should start to see bubbles within 4–7 days (mine took 10 days the first time). Once bubbly and fizzy, your ginger bug is ready to use!
Preparing the Bottles
Use clean glass bottles with airtight caps. I like to first wash mine with hot water and soap. After that, I add some baking soda and let it sit for 15–30 minutes.
Why Baking Soda?
Baking soda helps neutralize any lingering odors or acids and ensures a clean environment that won’t interfere with fermentation. Just be sure to rinse thoroughly afterward.
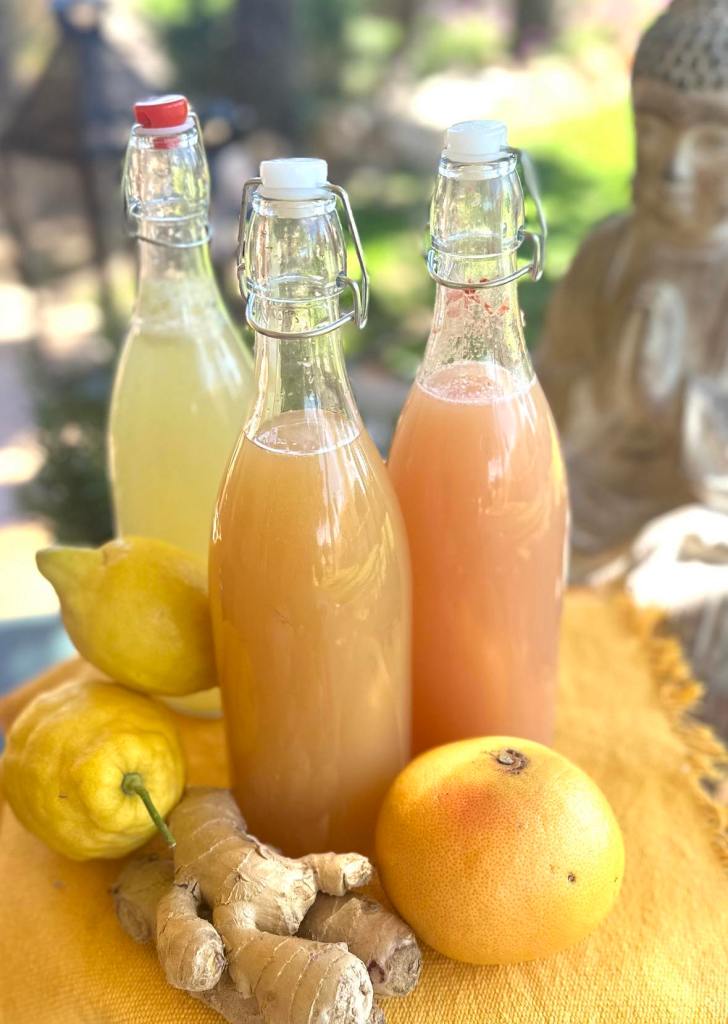
Flavored Soda Recipes
Lemon Soda
- ½ cup ginger bug
- 3 cups fresh lemon juice (not bottled)
- ½ cup organic honey or cane sugar
- 3 cups filtered water
Grapefruit Soda
- ½ cup ginger bug
- 3 cups fresh grapefruit juice (not bottled)
- ½ cup organic honey or cane sugar
- 3 cups filtered water
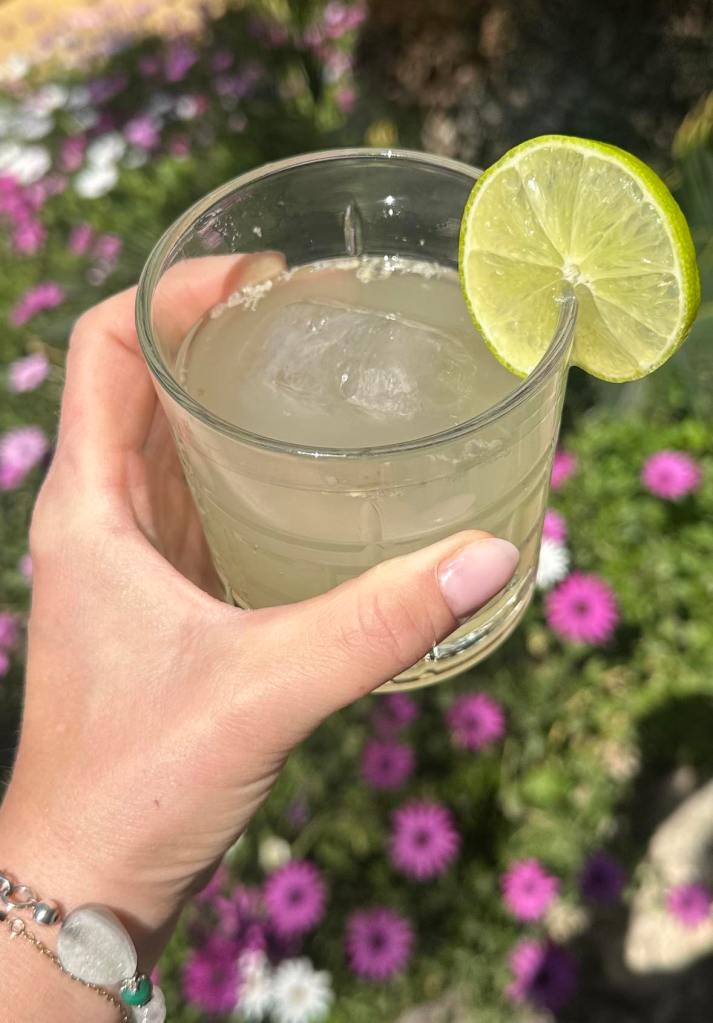
Ginger Ale
- ½ cup ginger bug
- 2 tablespoons fresh lime juice
- 2–6 tablespoons freshly grated organic ginger (with skin)
- ½ cup organic cane sugar
- 6 cups filtered water
How to Make Naturally-Fermented Soda
- Mix:
Combine all ingredients in a large jug or bowl. Use a blender or whisk to make sure the sugar or honey dissolves completely. - Strain (optional):
Strain out any pulp or ginger bits if you prefer a smoother soda. - Bottle:
Pour into clean glass bottles with airtight lids. Leave about 2–3 cm of space at the top. - Ferment:
Leave the bottles at room temperature (ideally 20–23°C) for 2–3 days. Give the bottles a gentle shake each day and open them once daily to release pressure (this is important to avoid explosions!). - Refrigerate:
Once the soda is fizzy and lightly carbonated, place it in the fridge to slow the fermentation. It will keep for several weeks.
Tips for Success:
- The fermentation process is faster in warmer rooms and slower in colder ones.
- If you don’t see bubbles after 3 days, give it a bit more time — some batches just take longer.
- Always “burp” your bottles daily while fermenting to prevent over-carbonation.
- Use flip-top bottles for best results — they’re easy to seal tightly and open safely.
Why I Love This Process
Making your own fermented soda is not only healthier than drinking store-bought soft drinks — it’s also super fun and creative. You can experiment with endless flavors: berries, herbs, citrus, or even turmeric. Plus, you know exactly what’s in your drink, and you’re supporting your gut health at the same time.
Let me know if you try it or have your own favorite combo — I’d love to hear! Warm regards, Thura💛

Leave a Reply to mellowwizard86d50126c5 Cancel reply